Henkel LOCTITE 97612 User Manual
Browse online or download User Manual for Unknown Henkel LOCTITE 97612. Henkel LOCTITE 97612 User's Manual
- Page / 28
- Table of contents
- TROUBLESHOOTING
- BOOKMARKS
- Air Filtertrolley 1
- Luftfiltertrolley 1
- Contents 3
- 1.1 Emphasized Sections 4
- 1.2 Items Supplied 4
- 1.3 For Your Safety 5
- 2 Description 6
- 2.1 Theory of Operation 6
- 3 Technical Data 8
- 4.2 Connecting the Unit 9
- 4 Installation 10
- 5 Operation 11
- 6.1 General Instructions 11
- 6.2 Changing the Filter 11
- 7 Troubleshooting 12
- 8 Annex 13
- Inhaltsverzeichnis 15
- 1 Bitte beachten Sie 16
- 1.1 Hervorhebungen 16
- 1.2 Lieferumfang 16
- 1.3 Zu Ihrer Sicherheit 17
- 2 Beschreibung 18
- 2.1 Funktionsbeschreibung 18
- 3 Technische Daten 20
- 4 Montage 21
- 5 Betrieb 23
- 6 Reinigung und Wartung 23
- 6.1 Allgemeine Anweisungen 23
- 7 Fehlersuche 24
- 8 Anhang 25
- Arabellastraße 17 28
- 81925 München 28
- Deutschland 28
Summary of Contents
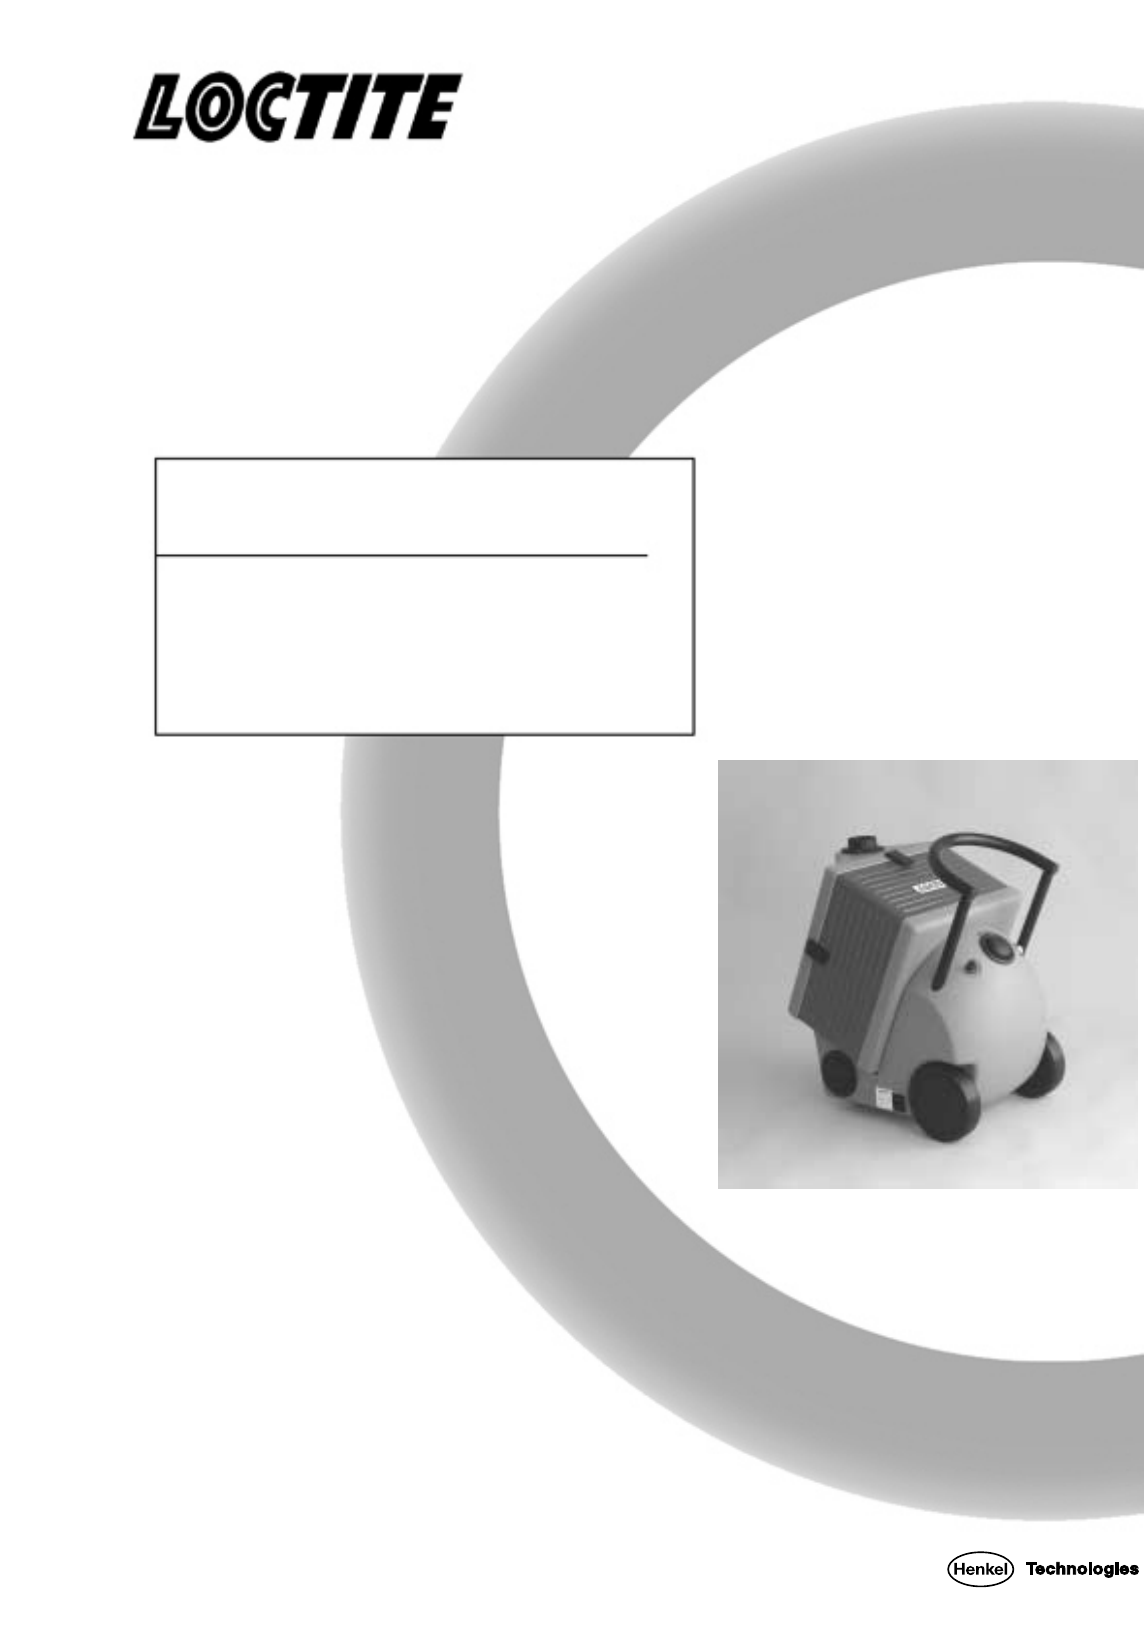
2 Operating Manual Bedienungsanleitung Air Filtertrolley Luftfiltertrolley 97612
10 4 Installation 4.4 Connecting the Suction Arm • Unscrew connecting piece. • Mount the arm connector to the unit, using the original scre
11 5 Operation Operation • Place the suction hose or suction arm at the workplace. • Connect power plug. • Switch on the unit. S
12 7 Troubleshooting Type of Malfunction Possible Causes Corrections Air Filtertrolley does not run (Fan can not be heard and LED does not li
13 8 Annex 8.1 Accessories and Spare Parts Pos. No. Description Loctite Order No. Suction Arm, 3 cardans, max. range 950 mm, with ho
14 8 Annex 8.3 Warranty (excluding Germany) STANDARD WARRANTY CLAUSE FOR USERS IN EUROPE Loctite expressly warrants that all products referred
15 Inhaltsverzeichnis 1 Bitte beachten Sie...
16 1 Bitte beachten Sie Für den gefahrlosen und erfolgreichen Einsatz des Gerätes diese Anleitung vollständig lesen. Werden die Anweisungen nich
17 1 Bitte beachten Sie 1.3 Zu Ihrer Sicherheit Bei Schäden am Netzkabel oder Gehäuse kann es zu Berührungen spannungsführender Teile komme
18 2 Beschreibung 2.1 Funktionsbeschreibung Der Saugschlauch oder Saugarm (beides Zubehör) muss möglichst nahe an der Klebestelle platziert
19 2 Beschreibung 2.2 Anzeigen, Bedienelemente und Anschlüsse 1 Ausziehbarer Teleskopgriff 7 Luftauslass 2 Filteranzeige für verstopf
2 English... 4-14 Deu
20 3 Technische Daten Netzanschluss 230 V AC, 50 Hz Leistungsaufnahme 150 W Netzsicherung 5 A, mittelträge Schutzklasse I gem. EN
21 4 Montage 4.1 Umgebungs- und Betriebsbedingungen – Gerät nicht betreiben, wenn Gefahr von kondensierender Luftfeuchtigkeit oder Kondensa
22 4 Montage 4.4 Anschließen des Saugarms • Anschlussstück abschrauben. • Saugarmanschluss mit den Originalschrauben auf dem Gerät montieren
23 5 Betrieb Betrieb • Saugschlauch bzw. Saugarm am Arbeitsplatz platzieren. • Netzkabel anschließen.. • Gerät einschalten. Außerb
24 7 Fehlersuche Art der Störung Mögliche Ursachen Abhilfe Luftfiltertrolley funktioniert nicht (kein Ventilatorgeräusch, LED brennt nicht)
25 8 Anhang 8.1 Zubehör und Ersatzteile Pos. Nr. Beschreibung Loctite-Bestell-Nr. Saugarm, 3 Kardangelenke, max. Reichweite 950 mm,
26 8 Anhang 8.3 Garantiebestimmungen (nur für Deutschland) Garantieklausel 1 Soweit Fehler bei Produkten, auf welche sich diese Bedienungsanle
28 Henkel Loctite Deutschland GmbH Arabellastraße 17 81925 München Deutschland © Henkel Loctite Corporation 2002 8952468 – 12/2002
3 Contents 1 Please observe the following... 4 1.1 Emphas
4 1 Please observe the following For safe and successful operation of the unit, read these instructions completely. If the instructions are not
5 1 Please observe the following 1.3 For Your Safety Damage to the power cord or the housing can result in contact with live electrical pa
6 2 Description 2.1 Theory of Operation The suction hose or the suction arm (both accessories) has to be placed near the bonding place. The
7 2 Description 2.2 Displays, Operating Elements and Connections 1 Extendible Telescopic Bar 7 Air Outlet 2 Filter Indicator for clog
8 3 Technical Data Power Supply 230 V AC, 50 Hz Power Consumption 150 W Power Protection 5 A, time-lag Protection Class I acc. t
9 4 Installation 4.1 Environmental and Operating Conditions – Do not operate if there is a danger of condensing humidity or condensation.
Related products and manuals for Unknown Henkel LOCTITE 97612
 (7 pages)
(7 pages)
(7 pages)
 (94 pages)
© 2020, manymanuals.com. All rights reserved. | 1.371 s |
 Manymanuals.com
 Manymanuals.de
 Manymanuals.fr
 Manymanuals.it
 Manymanuals.pl
 Manymanuals.cz
 Manymanuals.es
 Manymanuals-pt.com
Comments to this Manuals